We will embed a computer in the Poppy head. This computer will be either an Odroid XU or Odroid U3. For both board, the graphic output is micro-hdmi.
The only one solution I have found to have a 4.3" screen with a hdmi input is the project made by hipster circuit introduced here.
They are developing the manga-board which is:
A 4.3" LCD TFT display that connects directly to the hdmi output of the BeagleBone Black. This uses the TFP401A for receiving TDMS signals and converting to parallel RGB.
This board is open source and available on their bitbucket repository. They are planning to launch (soon) a Kickstarter for the production of this board.The current design look like this:
I got more information when I contacted Elias Bakken:
I see no reason why Manga Screen should not work with the Odroid board, but it only supports native resolution of 480x800 (WVGA), so you should make sure that the graphics driver can be forced to handle that resolution.
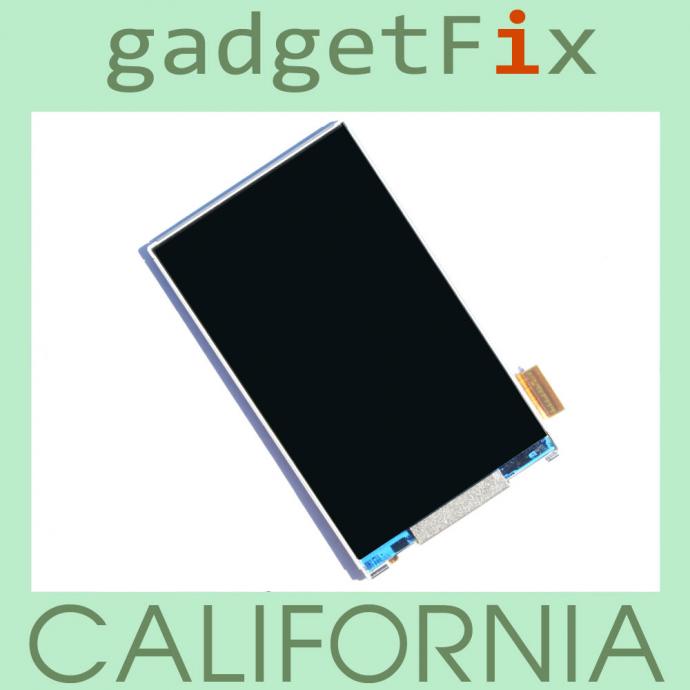
I think you might get in trouble with HTC if you plan on using the screen (with logo) directly. I am currently in the process of having a custom touch panel made that does not have any buttons or logo, but instead a symmetric look. This will be used for the Kickstarter. You might also consider dropping the touch panel all together if you are concerned with price. The custom panel does build little on each side to cover the LCD screen connections, but not as much as the HTC.
It is not possible to use different screen I’m afraid, that would require a lot of rework of the PCB. Also here is a section of my blog post on why this LCD is “perfect”:
4.3″ is fairly small size for an HDMI compatible display. There are several versions available in larger sizes at various sizes. The reason for this is that you need a high resolution to be compatible with the TFP401 PLL which is 25MHz. Now there are several LCD displays that are small, and have a large resolution, but newer displays with high resolution usually use the DSI protocol which is also impossible to get a hold of unless you are a member of the MIPI org.
While we have now a solution to easily produce board, I suggest to fork the manga-screen project to make it more suitable for integration in Poppy’s head.
I suggest several changes (by order of priorities):
1- Change the HDMI port
Replace the HDMI port by a mini or micro-HDMI one and change its emplacement. With the current one, the connection with the odroid board will be really difficult.
2- Add a connector for 5V power supply
The current alimentation is done by the USB port.
3- Change the shape of the board and fixation holes
It is big and has a lot of useless room, a smaller board would be easier to integrate.
4- Replace the Atmega32U4 by Atmega16U4
It appears more and more difficult to obtain Atmega32U4 chip, I wonder if they are still produced ? As we do for USB2AX integration on the I/O board, we will have to replace them by Atmega16U4.
I contacted Elias Bakken and it appears possible:
I think the amount of flash used is about 51% so with few changes the firmware should fit. You can remove some of the touch code if you are not using that.
5- Add Poppy audio electronics
We could use the free room on the manga-board to add some electronic components which should be integrated in Poppy’s head.
I particularly think about microphone and speaker. The manga-board is ideally placed to embed stereo microphones (the flower holes on the side of the head are the Poppy’s ears). Also there is enough room to add a small speaker or at least connection with a larger one.
Maybe it is possible to add the electronic embedded in such usb sound card as suggested by @aurelienhere ? And then connect it to the I/O board usb hub with small connectors ?
This link is very interesting, I think it’s possible to integrate the schematic on I/O Board ( two port are available on TUSB for the USB communication)
I think it’s a standard ribbon connector so you can plug any ribbon into this connector. But this is very interresting because you can modify the cable length.
Big new, the first integration of this screen and the new head design in pictures (assembled 10min ago)
Here there is a manga-screen, an Odroid U3 and a webcam with a 170° FOV lens.
Front view
(We can notice the transparent 3D printing made by Sculpteo is not clean, there is some kind of dust on the part … hope it will be better for the next bench.)
There is as many poppy as users, the project is owned by its community so if you prefer to have 2 eyes, you’re free to made it for your poppy. Here is our personal interpretation of the head design for poppy but it could have another configuration with two cameras.
The suggestion of 2 eyes was because in front of the readings it seems it offers better result to locate stuff and more in 3D environment.
If you think the same result can be obtain with just one eye, lets do it with just one.
If someone have a bit of time to explain me how we can obtain the same result with one eye, rather than binocular vision (documentation linked here) thanks!
i do not understand why you do not directly go with cheap android phone who would provide screen, cpu, microphone, loudpspeaker, touch screen, bluetooth,wifi, GSM, GPS, memory, sd card, video play and so on…
in a form factor that would no be bigger than the screen.
What you suggest is definitely another very interesting possibility! I think that both approaches have very strong advantages. As I’ve done a bit of mobile development in the past I would personally love to see such feature in one of the poppy creatures. Unfortunately I don’t have enough time to explore this solution myself at the moment.
Yet, the project is open-source! So do not hesitate to fork our repo, propose your own solution based on an Android device and share it with the rest community! This is why open-source is interesting, so we can explore a wide diversity of solutions right?
For those interested in using the Raspberry Pi as the main controller I have just got this 5inch display that fits directly on a Raspberry Pi:
A very nice feature is the HDMI connector that bridges the Raspberry Pi with the screen - reducing significantly the clutter:
And finally this is a picture of the screen running on Raspberry Pi 2 with Ubuntu Mate:
The display is slightly larger than the Manga, the dimensions can be found here. To fit this screen the head will need to be modified - the center to center distance between the fixing holes is 114.5mm while the Poppy head has the fixing brackets at 93mm.
The screen can be found on eBay quite easily and is about half the price of the Manga screen.

 , we will soon be able to design the new head.


